

4.0 Chrome Ball vs Panospheres
There are benefits and drawbacks to each system, and like any engineering problem, the challenge lies in determining which system will work best for your specific needs. Sometimes, limiting factors may dictate your choice. This post will compare the Chrome Ball and Panosphere methods to help you decide which is ultimately the best, along with a list of scenarios where one system might be more suitable than the other.
If you haven’t read the previous posts on what a Chrome Ball or a Panosphere is, go check those out now!


Panosphere
A Panosphere can be captured without purchasing anything. Even without a fancy camera, you can go out with your phone, and a tripod to capture a photosphere.
The lens used to capture the panosphere does make a difference. The goal is to stick with a prime lens so the processing can be unaffected.
The end goal is somewhat important, the resulting panosphere can be used for several things such as a large environment sphere in Maya, the lighting information for an environment light, and also works fairly well as a reflection map. Chrome balls will work better as a reflection map though.
One of the greatest benefits of the panosphere is the detail that shows through in the pictures, whereas the chrome ball is less likely to produce the desired amount of details.
The time involved with capturing a panosphere is very time consuming! There are tools that can automatically take a photosphere for you, but if you are trying to spend very little money, expect to spend a lot more time taking photos. However, now there are phones and apps that can do a really good job capturing photospheres. There are even 360 cameras available
Post production is a very slow process and can take up a tremendous amount of space on your computer! If you decide to make it HDRI, then even more space will be taken up. One HDRI Panosphere takes up over 9GB on my computer and it can really add up after taking multiple panospheres.
Chrome Ball
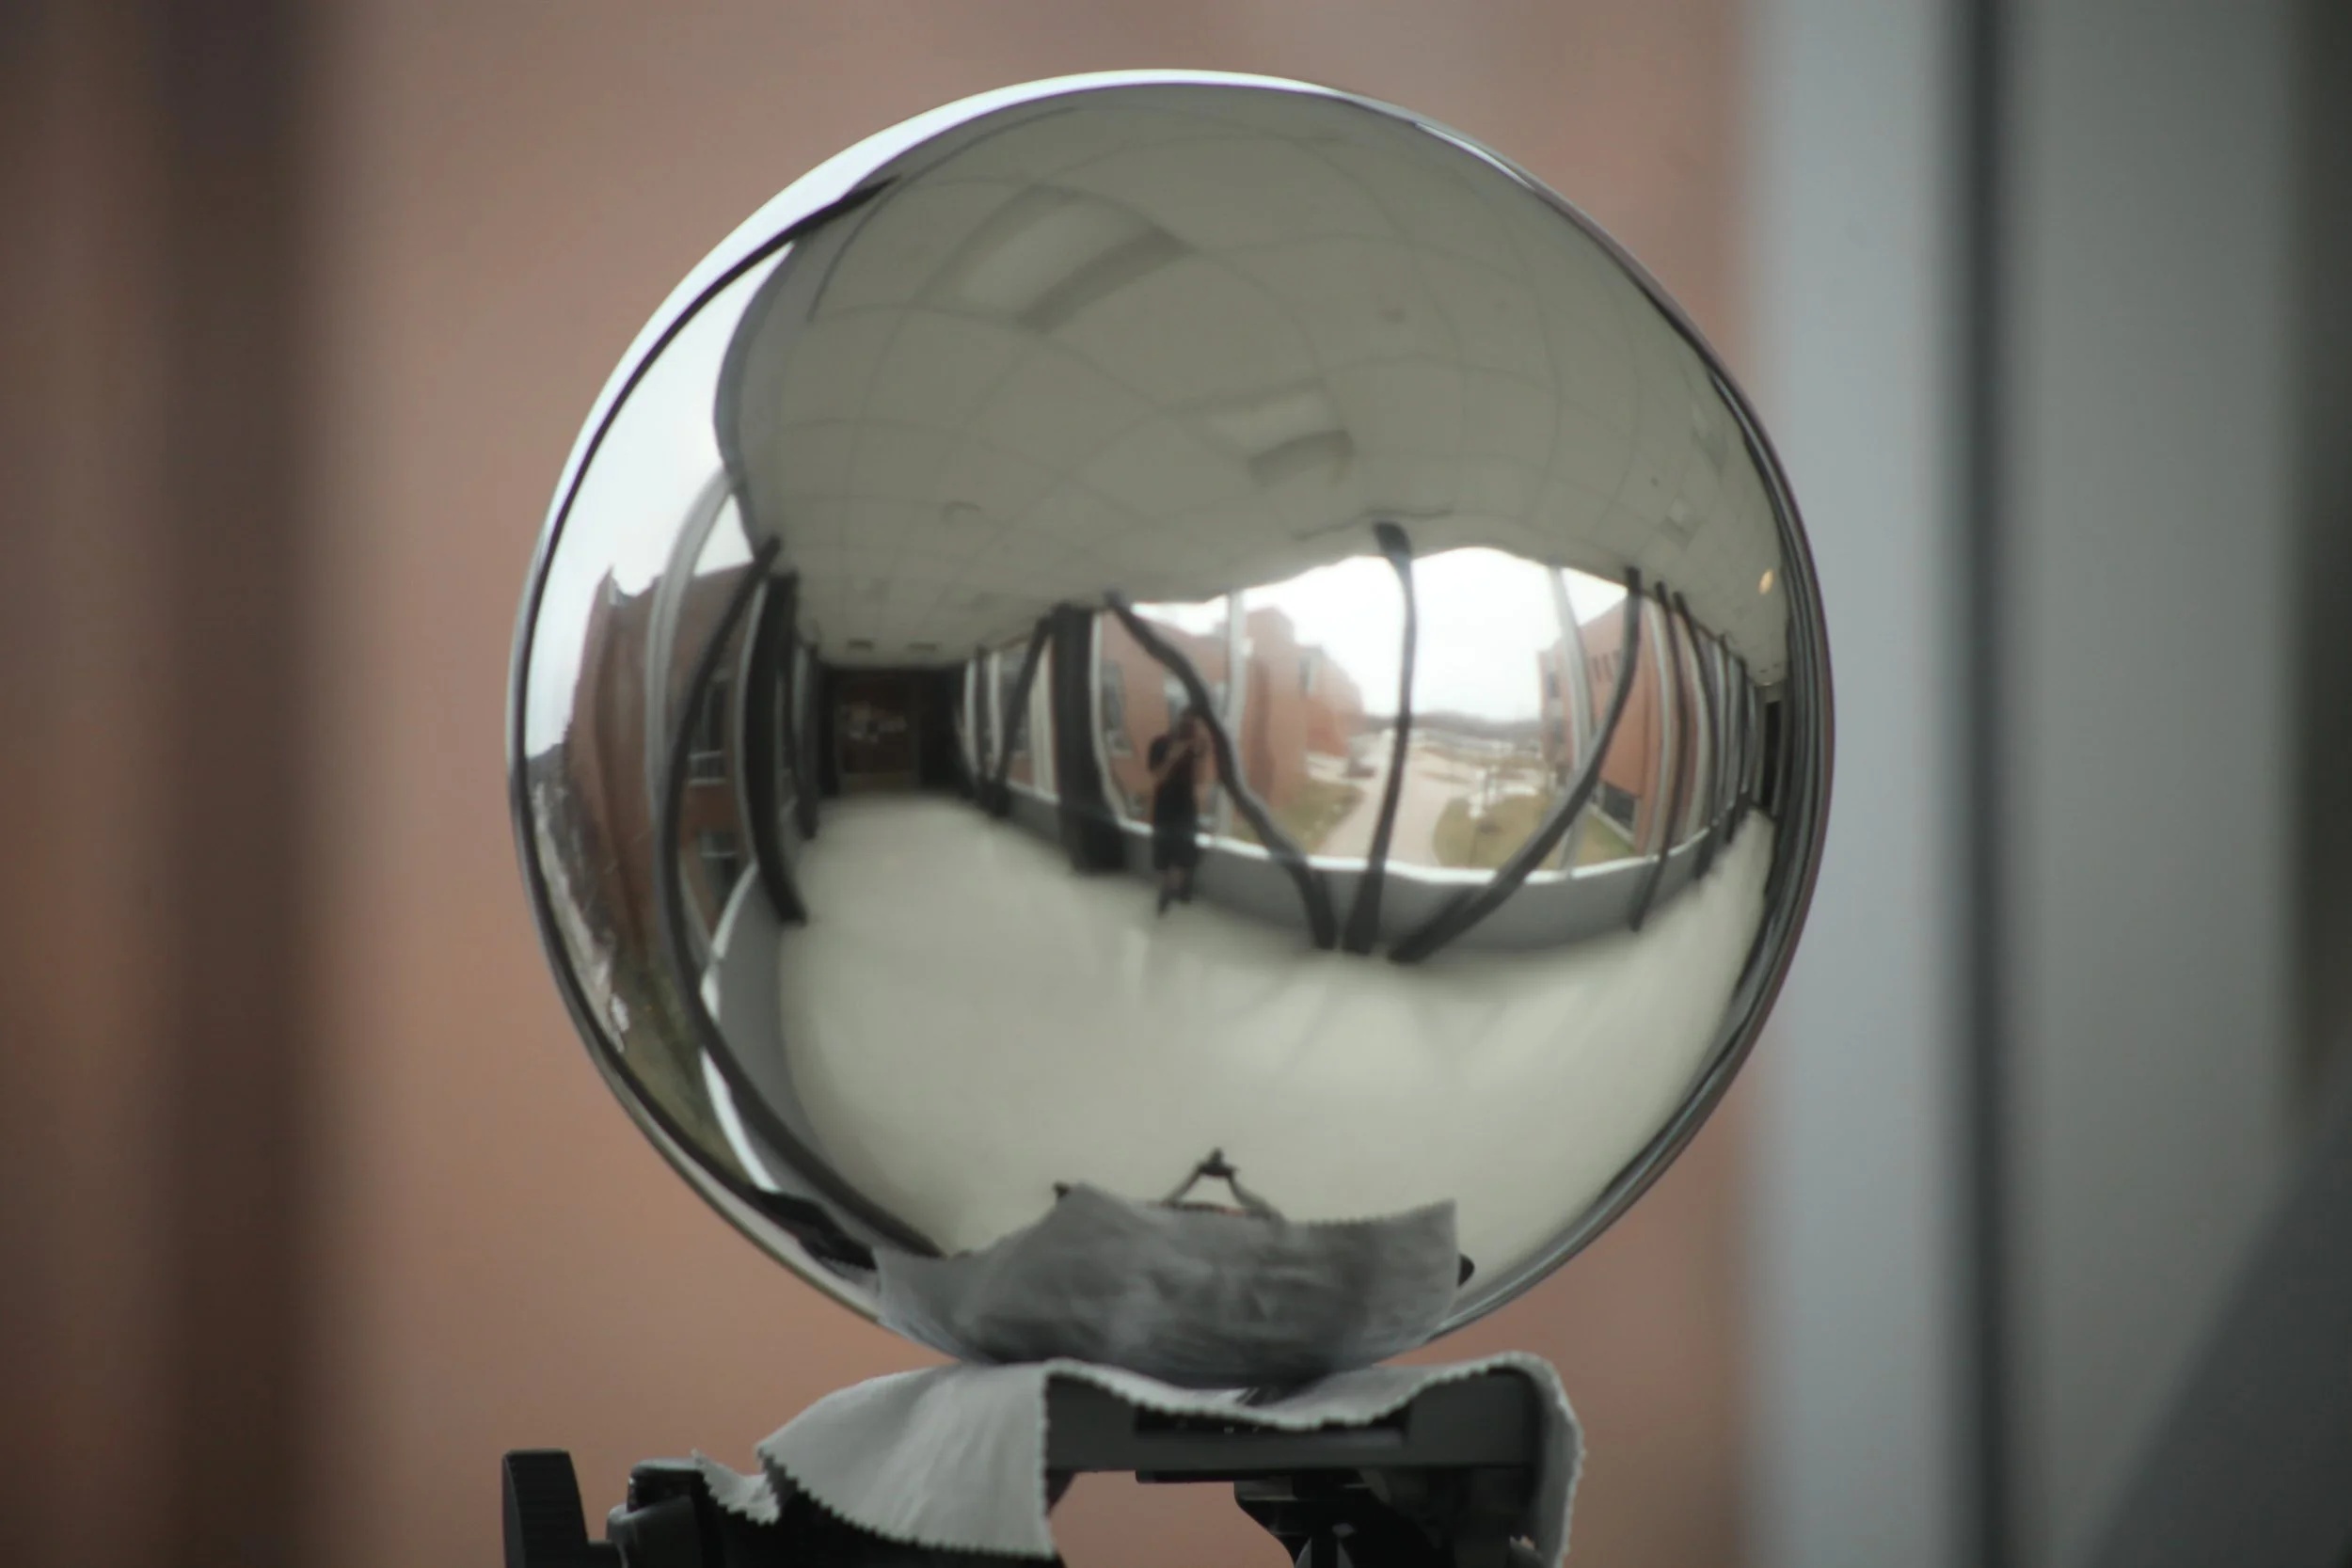
Chrome balls can get quite pricey, and after finding the one I used for my thesis, it needed polishing to get rid of any surface scratches and warping. The more expensive the ball, the better results in post. Some chrome balls are half reflective and half gray. This gray semi-sphere is a lambertian surface to show how light will fall on a non-reflective surface.
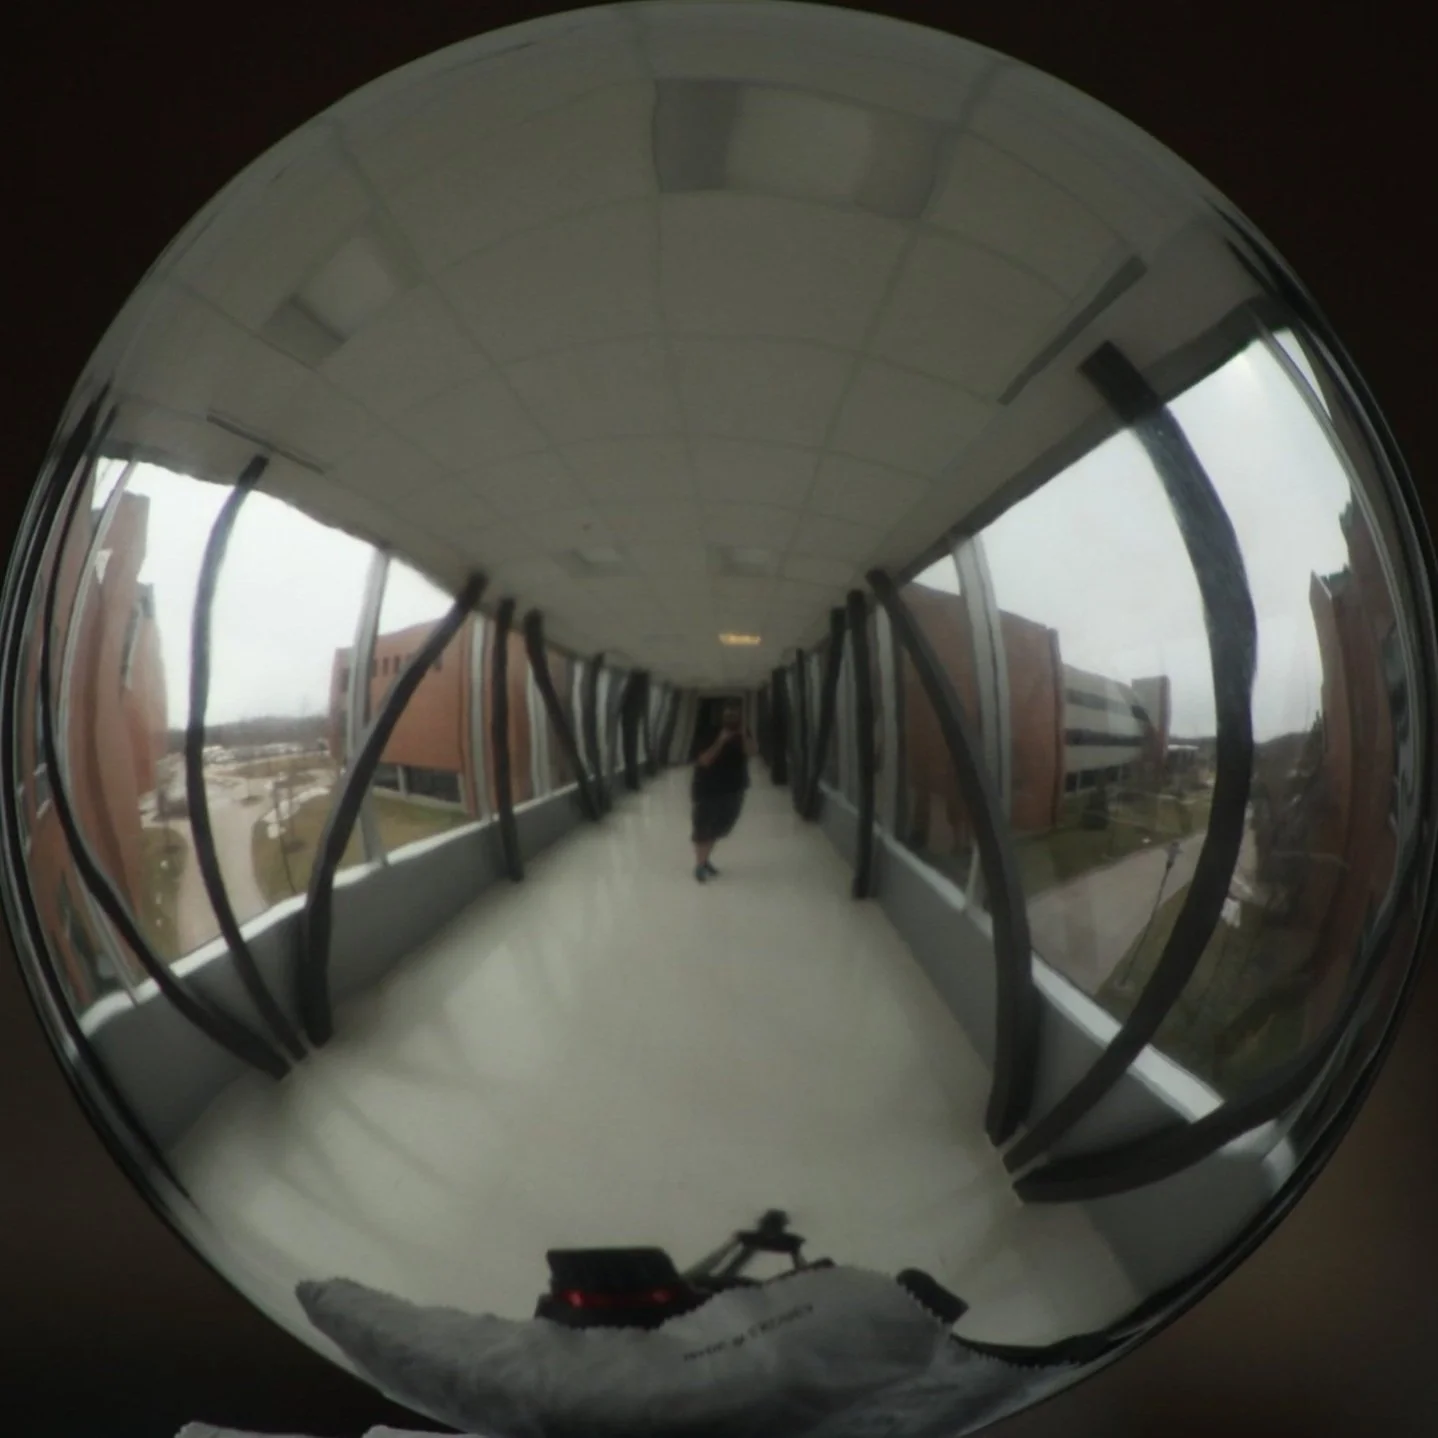
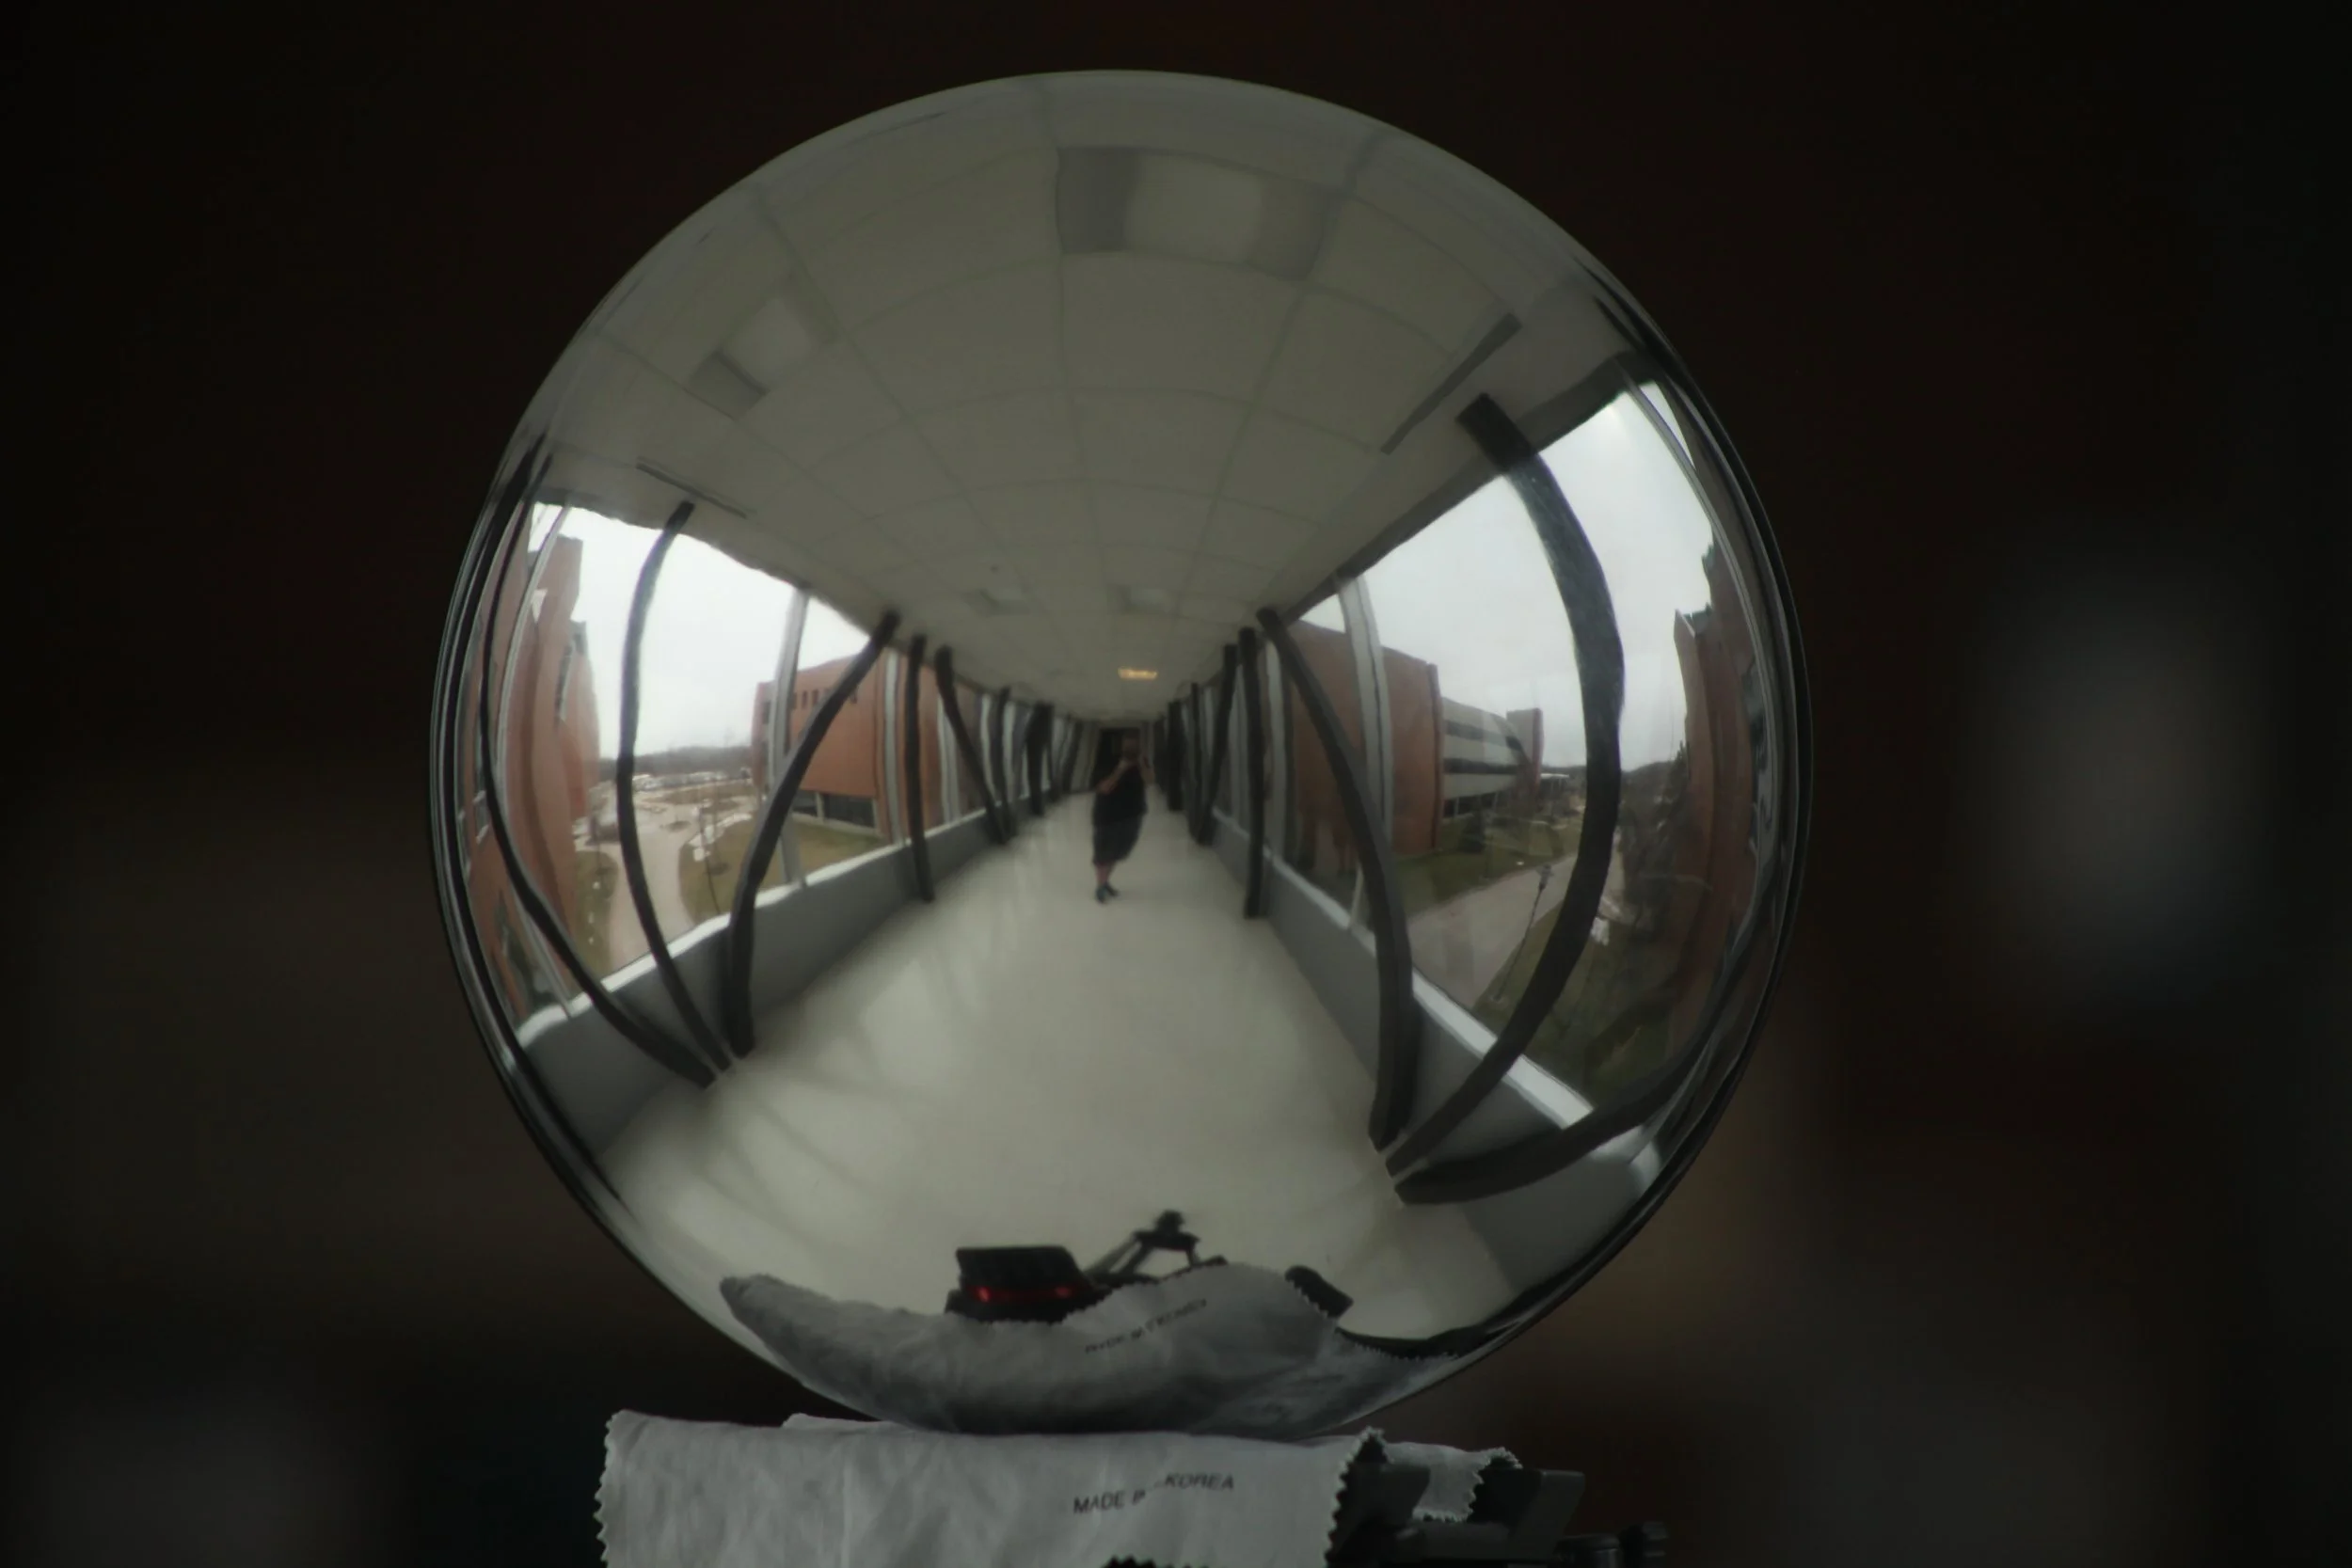
The size of the chrome ball can make a difference. What I found was that the smaller the ball, the more my reflection showed up, because I was limited by the lenses I used. It is best practice to have the ball take up as much space in the image as possible so no details will be lost. The smaller the ball, the larger your reflection will be.
The lens used to capture the chrome ball can make a huge difference! The longer the lens, the better the results will be. This means you can take the photo from further away, minimizing your own reflection.
The end goal is important, the results from the chrome ball give an accurate light profile, and is perfect for a reflection map on a 3D computer generated object!
The time involved with using the chrome ball is very minimal. On set, it can take less than ten minutes to snap a few photos of the chrome ball in various locations to capture different light profiles.
Post production is quite speedy as well, the ball can be quickly unwrapped and applied within a few minutes. The size of a few photos, even in raw, will take up very little space. Even capturing HDRI photos of the chrome ball on set can be fairly quick and the files can stay relatively small.
These two processes are both valid methods for capturing lighting profiles to use in a 3D pipeline. One takes a lot of time, while the other can be a bit pricey. It is all up to the needs of the production. I recommend going with the chrome ball method because it is quick, and takes up less hard drive space.
It would be interesting to compare these two methods with a 360 photo captured on set. That may lead to the best results with the least amount of time. I would still recommend bringing a chrome ball on set because it never hurts to be prepared.
Do student films need this? No, not really. This process is really used for visual effects and getting the lighting on the 3D elements correct. You don’t need it, but you will need reference photos at least, to help with the lighting. It is always good to take photos, and draw lighting diagrams, and if possible, record light levels with a light meter on set in various spots.
What should I use? A quick guide
I have no money.
Panosphere
I have little time on set.
Chrome Ball 🪩
I want to put a 3D object into my scene.
Chrome Ball 🪩
I want to use this as a backdrop or for an environment.
Panosphere
I just need a reflection map for my 3D object/character.
Chrome Ball 🪩


Notes:
In migrating this website to a newer version, the comments were unable to follow.
A comment from: Damion Hill
I’m curious as to how you would keep your same pipeline but with only free or inexpensive software. I’m currently trying to create a simple sci-fi movie with only and iPhone 12 Pro Max, Moment external lenses + filters.
For HDRi, I’m using a cheap lawn ball and painted the opposite side 18% gray. I use the Moment app to capture bracketed hdr images. Photo editing, Affinity Photo. I also purchased a X-Rite color checker mini for post.
For software; Blender for CGI, camera mapping and VFX. iPhone for motion capture using the Lidar camera. Video editing; Davinci Resolve Studio 17. Audio post and scoring will be done in Apple Logic Pro.
Let me know if you have any suggestions. I’d be interested to hear your opinion. I connected with you on Instagram. @daemonj
Thanks!
My follow up:
Damion! Hey!
First, kudos for using moment lenses 🙌 I love their lenses. The x-rite mini is always out of stock when I try to purchase it.
The chrome ball split with the 18% gray is useful, but more so for reference. I personally would do the two separate balls one gray, the other reflective if you want more accuracy. The split ball is great for reference and getting lighting info for what is on half of the set.